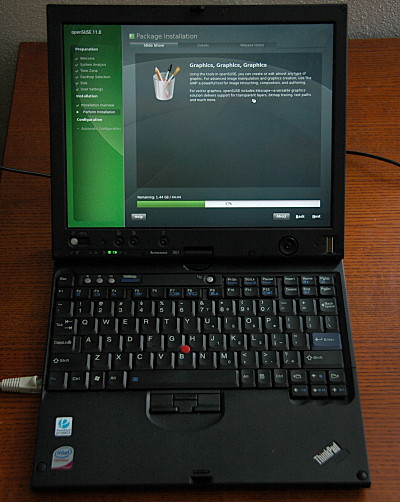
Networked opensuse Install Success Story
Jun 9 2008
I have been struggling on how to install the latest and greatest opensuse on my x61 thinkpad. The liveCD installation is probably the best way to get a system up an running for a desktop user. With a system that lacks an optical drive, things need a little bit of tinkering. It ended up being a whole lot of tinkering for me as I have tried and failed installing 11.0 using the USB stick method that worked for me with 10.3. Essentially it boiled down to problems with BIOS drive mappings confusing grub and kiwi nuking my root partition with a swap during first boot.
But I did succesfully install opensuse 11 Factory using just a network drive and an extra machine serving the linux kernel using TFTP. The added benefit is that you don’t need to download any isos and you only get what you really need.
While this sort of howto might be useful to have on the wiki, keep in mind that this is a graphics designer giving you advice on how to do a rather specialty installation that only network administrators usually do. I encourage people who actually understand these issues to rephrase it and post it.

So let’s get started.
PXE Boot
PXE Boot is a system to serve an operating system to clients that are able to boot from a network card. It is generally considered a system suitable for large desktop deployments within larger companies and there is no configuration necessary on the clients. Everything is set up on the server by qualified administrators. Which became quite an issue for a mere mortal like me. All the documentation available, filled with adjectives like trivial, simple, self-explanatory has had me fail badly. The typical scenario involves setting up a DHPC server (dhcpd) that will serve IP addresses to clients and point them to the server that will send a system image (kernel+initrd). The server is usually TFTPd. Most of the howtos also tell you how to set up an NFS server as large deployments would want you to pull installation data off a local network rather than grabbing them off the internet. Even if there are yast modules to set up a DHCP server and TFTP server on SUSE, you still need to know what you’re doing to start serving system images over the network.
Luckily there is another way. First, on your 10.3 box (server) you will need to install some packages – syslinux, pxe and dnsmasq (zypper in syslinux pxe dnsmasq).
To keep things clean, I have created /tftpboot directory to host my PXE configuration and Linux images. We need to copy a basic template from PXE and syslinux first:
sudo cp -Rpv /var/lib/tftpboot/X86PC/linux/* /tftpboot/
sudo cp -v /usr/share/syslinux/pxelinux.0 /tftpboot/
The awesome DNSMasq
Luckily there is a more human-approachable server that does everything and has a nicely documented configuration file that is readable by us mortals. I have been using it to assign specific IPs to specific hosts using DHCP and act as a DNS cache. The good news is that it can also do PXE boot and even has a TFTP server built in.
The PXE-specific configuration is as follows:
dhcp-boot=pxelinux.0
enable-tftp
tftp-root=/tftpboot
Piece of cake (luckily).
Serving Linux
All we need to send to the clients is the linux kernel image and initrd. We do that through the TFTP server and tell Yast to pull all its data directly from the opensuse http server (not a very nice thing to do if you have more deployments, this is where you may want to mirror stuff locally).
So first off you want to download the linux and initrd images and put them to /tftpboot/factory/ (I use the factory subdir as I want to serve many installers, but you can put it in /tftpboot directly). The PXE config file /tftpboot/pxelinux.cfg/default has almost the same syntax as grub’s menu.lst, but there are a few parameters that differ. You need to edit it to point to where kernel, initrd images are and where the installer data lives:
PROMPT 1
DEFAULT local
DISPLAY messages
TIMEOUT 50
F1 help.txt

label factory
  kernel factory/linux
  append initrd=factory/initrd ramdisk_size=512000 ramdisk_blocksize=4096 splash=silent showopts netdevice=eth0 install=http://download.opensuse.org/distribution/SL-OSS-factory/inst-source/
After starting the server with /etc/init.d/dnsmasq start you should now be able to boot your client, which would get an IP, grab the pxeboot menu, where you would choose ‘factory’ at the boot: prompt. From then on, the new amazing yast installer got everything right automagically. Props to the yast team!