Chapter 1. Creating Bitmap Icons with the GIMP
Almost every desktop enviroment I've seen has a special application for creating icons. Usually it's just a simple grid colorifier. In this short tutorial, we'll investigate how Gimp can help you handle the task of creating icons.
GIMP enables you to save compressed files and work with them transparently. However with icons such feature is quite an overshot since the disk space saved is not worth it. Filemanagers like Nautilus have problems with creating thumbnails for compressed images. (See Figure 1.1)
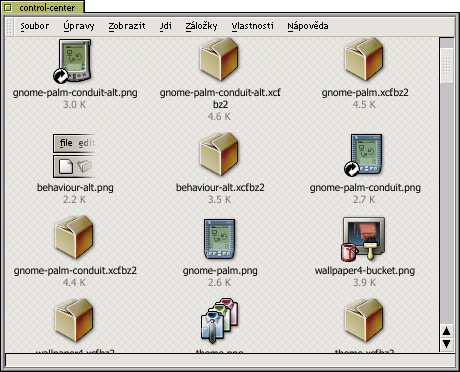
Because PNG is usually used for icons, it is a good practice to acompany your .xcf icon with a .png output file as well. That way you can easily navigate in your icon collection with a graphical browser that has problems with thumbnailing GIMP's native files.
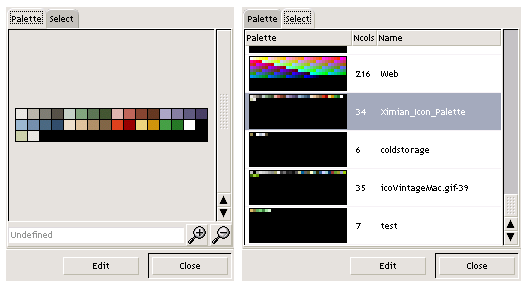
You may think palettes are only necersary in special cases like indexing colors of web images. Palettes in fact are a very neat tool for making your icons look consistent.
When creating your own palette, only define basic colors (mostly based on hue). You will always have the chance to tweak the value or saturation to create highlights or shadows of that particular color. Having a complex palette with many variations will make it complex and thus hard to navigate.
Many operating systems like MS Windows or MacOS have a system-wide color palette that is used on low color depth screens.
Tuomas Kuosmanen made some of his palettes public so may wan't to grab those before spending time on creating you own.