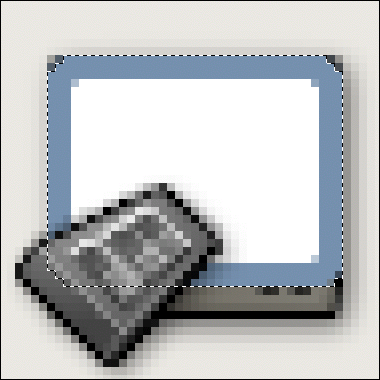
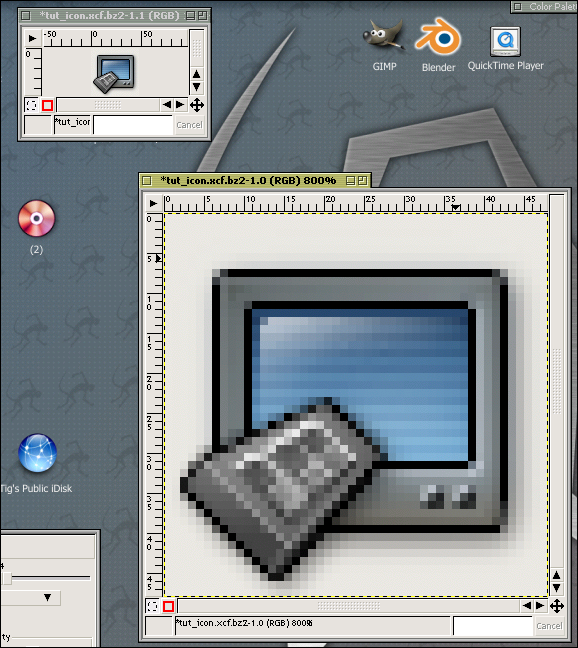
In this small tutorial, you'll be confronted with most of the practices described in the section called “A Few Tricks”. You'll be able to follow me drawing a TV icon.
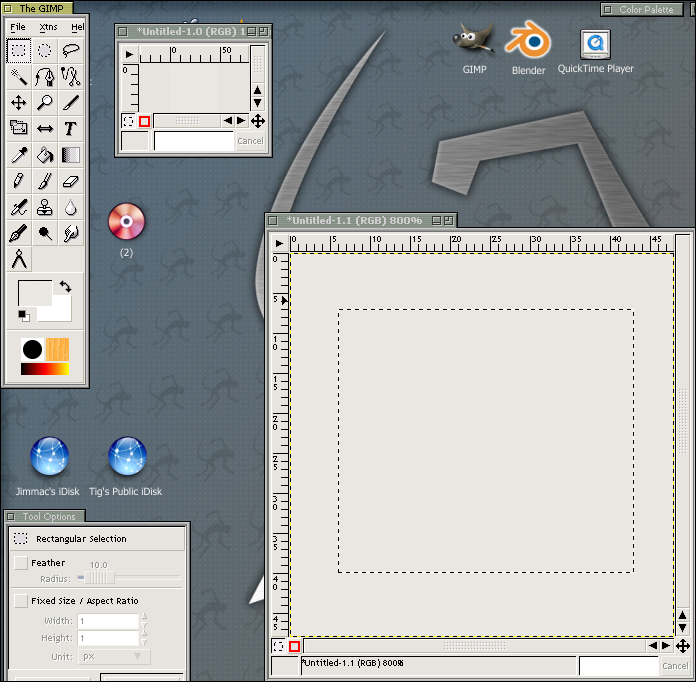
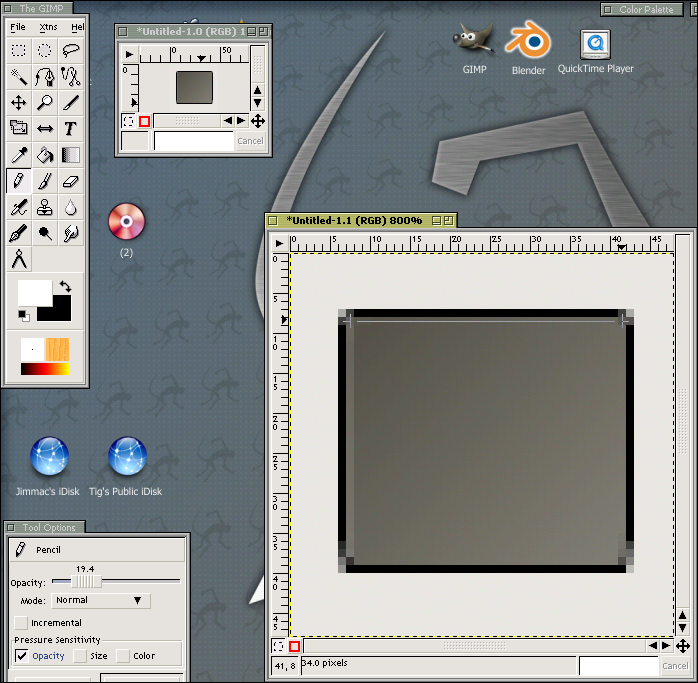
Although bezier is the tool of choice for shape editing, a TV siluette can be easily formed using a rectangle. The rectangle selection tool will therefore be good enough.
Use a separate layer for the shape. Also use some light background color for the background layer, but not completely white. After you're done with the icon you can drag various background colors there to test if the icon looks fine on any background.
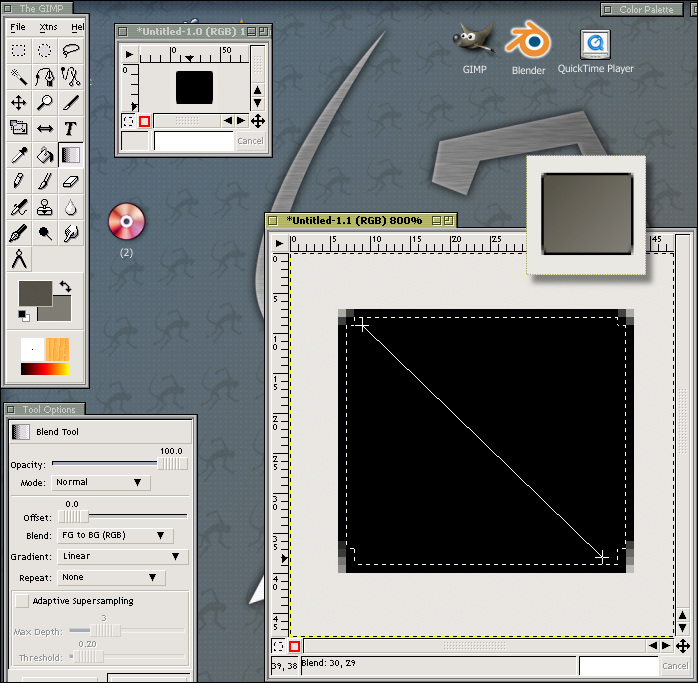
Once I fill the TV-siluette rectagle with black (By dragging black preview rectagle from the toolbox to the artboard or selecting Ctrl+,) it's time to smooth the edges a bit using the eraser tool.
Now select the siluette by right-clicking on the layer in the layer window and choosing Alpha to Selection. Shrink the selection by 1 pixel and fill it with linear gradient similar to Figure 1.6.
Now it's time to add a bit of depth to the object. We'll use the highlight trick from the the section called “Highlights and Shadows”. Use white 1x1 brush to create highlights and black to create shadows. By setting opacity of the brush to something like 20% you can get results similar to Figure 1.7.
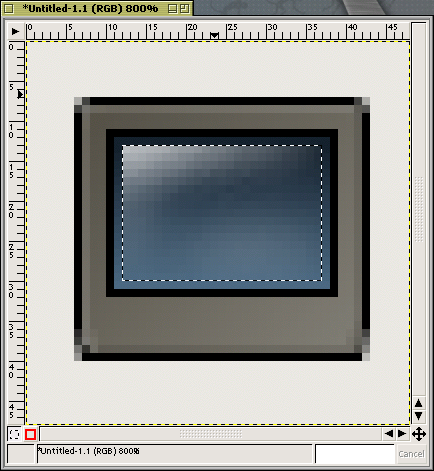
You can create the screen exactly the same way you did the TV siluette. Create a rectangular selection, fill it with black, shrink the selection by 1 pixel and finally fill it with linear gradient to form a screen like shown on Figure 1.8.

An important aspect of glass surfaces is the reflection. shrink the selection by another pixel and create a new layer. Now pick the airbrush tool and a middle-sized fuzzy brush. Now paint a white reflection like the one on Figure 1.9.
I like to use the interlace effect wherever I can. If you wan't to create horizontal monito lines on the screen, create a new layer above the current one. Render white horizontal lines with Filters->Render->Pattern->Grid. Set the layer mode to Overlay.
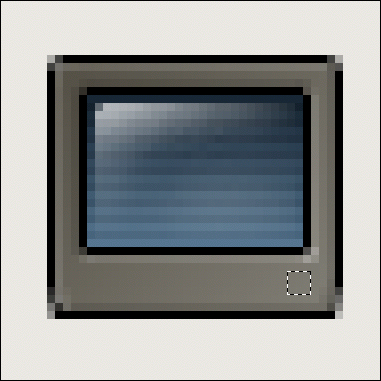
Creating buttons will be pretty simple. Just create a circular selection with the elipse tool and fill it with radial gradient (Figure 1.10).
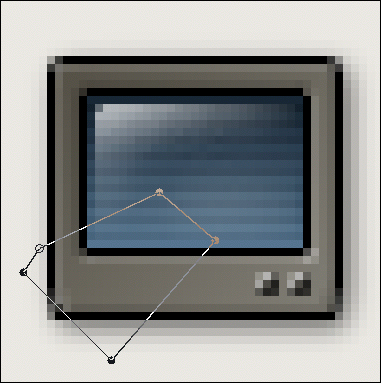
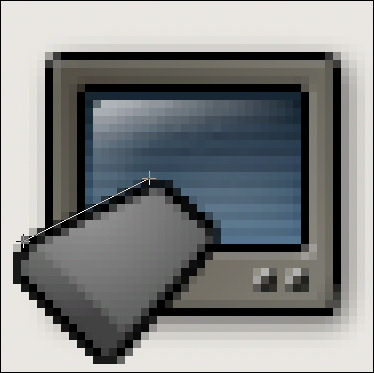
This time we'll use the bezier selection tool to create the outline of the object. Sometimes it's hard to create a small shape, because the nodes snap to the pixel grid, but on the other hand it makes the shape look sharp (Figure 1.11).
You can easily create the shadow outline by copying the path window and moving a single node, exactly like shown on Figure 1.12

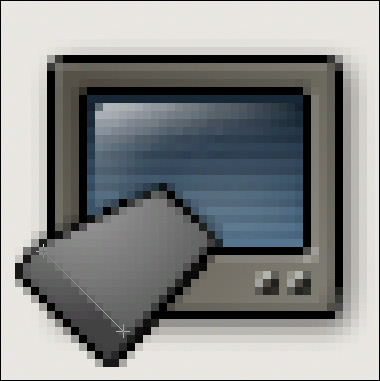
Usually it is a good practice to add contrast to the image by creating black object outlines. To do this, select Layers->Alpha to selection, create a new empty layer below the current one (with the remote on it). Grow the selection by 1 pixel and fill the selection with black.

Unfortunately selection operations like growing is not one of the strongest features of GIMP so you will have to manually alter the result. In our case with an erase tool. Select a 1x1 pixel brush, set opacity to something like 60-70% and "draw straight lines" close to the border of the object.
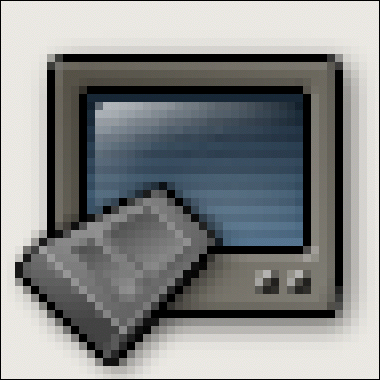
Time for the dirty highlight trick. Use the pencil tool with a 1x1 pixel brush and opacity set to something like 20%. The result makes the object very real.
You can draw the buttons on the remote using the same technique - bezeier selection and gradients, applying highlights and shadows with the pencil tool.
For extra realism you can add a TV glow. Create a layer above the screen (but below the remote). Create a rectangular selection of the screen, grow it by 6 pixels and fill it with blue. Shrink the selection by 3 pixels and fill with white. Deselect the are with Ctrl+Shift+A and apply Filter->Blur->Gaussian Blur RLE by about 5 pixels. Now set the layer mode to overlay.